How to Create an SPL Token or Token 2022 on Solana
Learn how to create and deploy an SPL Token or Token 2022 on Solana without coding. Configure supply, metadata and authorities, then approve deployment from your Solana wallet.
This guide walks through choosing a Solana token program, defining the mint and metadata, reviewing authority controls and approving deployment without writing custom instructions.
We'll use the Token Generator for Solana, a powerful and intuitive tool that simplifies the entire process to create either an SPL Token or Token 2022.
Introduction
Solana is a high-throughput blockchain with fast confirmation, low transaction costs and a broad ecosystem of wallets, exchanges and applications. Its fungible token programs support community assets, utility tokens, rewards, gaming economies and DeFi projects.
On Solana, fungible assets are created as mint accounts owned by a token program rather than as individually deployed smart contracts. The mint defines supply, decimals and authorities, while metadata gives compatible wallets and explorers the token's identity and project information.
Understanding SPL Token and Token 2022
SPL Token
Uses Solana's original Token Program for the broadest compatibility across wallets, explorers, exchanges and dApps.
Publishes token identity and project information through Metaplex metadata with an IPFS-hosted JSON document.
Token 2022
Uses the Token Extensions Program, the newer Solana token standard designed for extension-ready assets.
Stores a metadata pointer and token metadata through native Token 2022 extensions, backed by an IPFS-hosted JSON document.
Creating and Deploying Your Token on Solana
Step-by-Step Guide
Step 1: Access the Generator and Choose a Token Type
Open the Solana Token Generator.
The creator keeps network, token program, identity, supply, metadata and authority settings in one guided workflow.
Choose SPL Token when broad compatibility across established wallets, explorers, exchanges and dApps is the priority.
Choose Token 2022 when you want the newer Token Extensions Program and have confirmed support across the applications you plan to use.
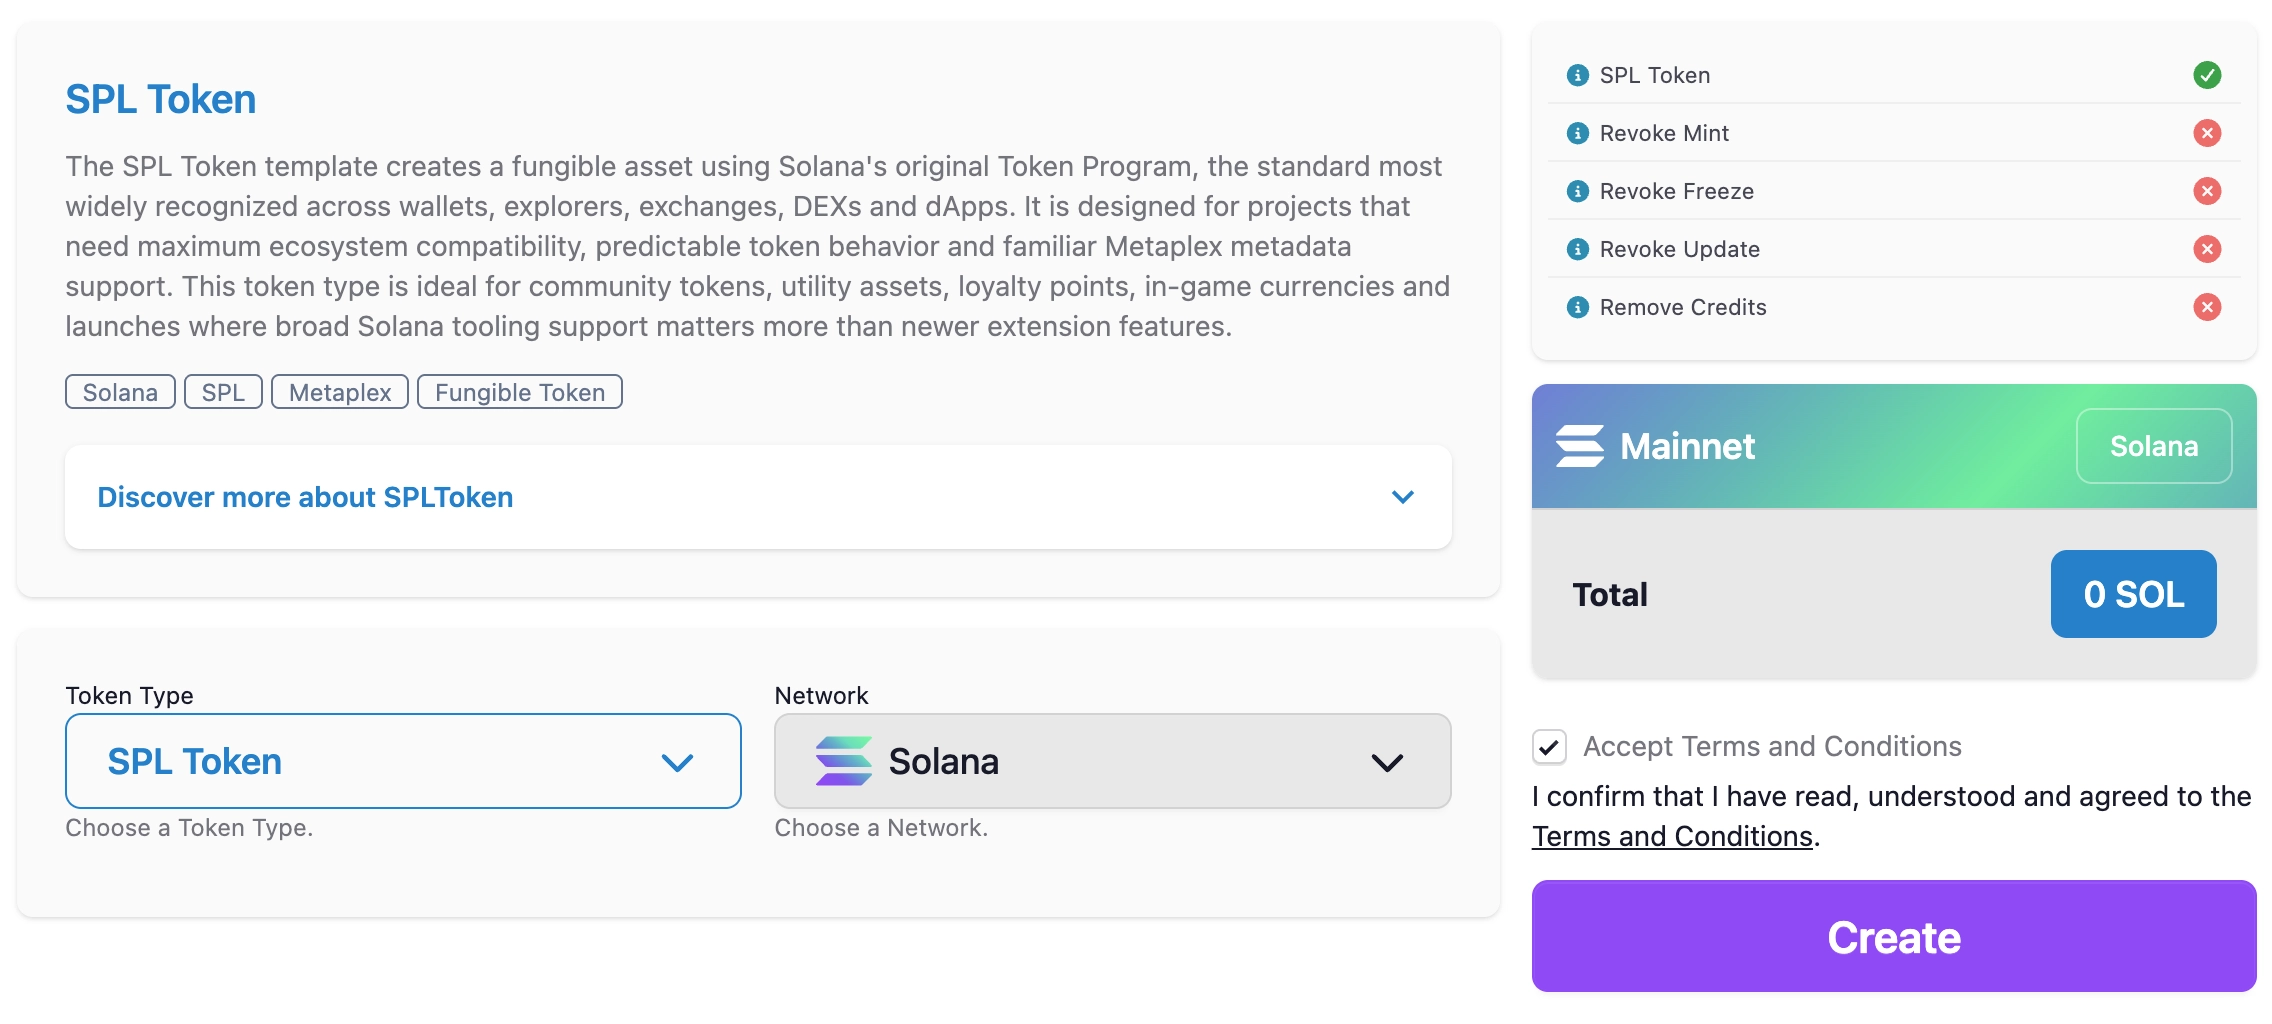
Step 2: Connect a Solana Wallet
Connect a compatible Solana wallet (e.g. Phantom, Solflare or MetaMask).
The connected wallet receives the initial supply and signs the deployment transaction.
Keep enough SOL available for the displayed service price and estimated network costs.
Step 3: Define Token Properties
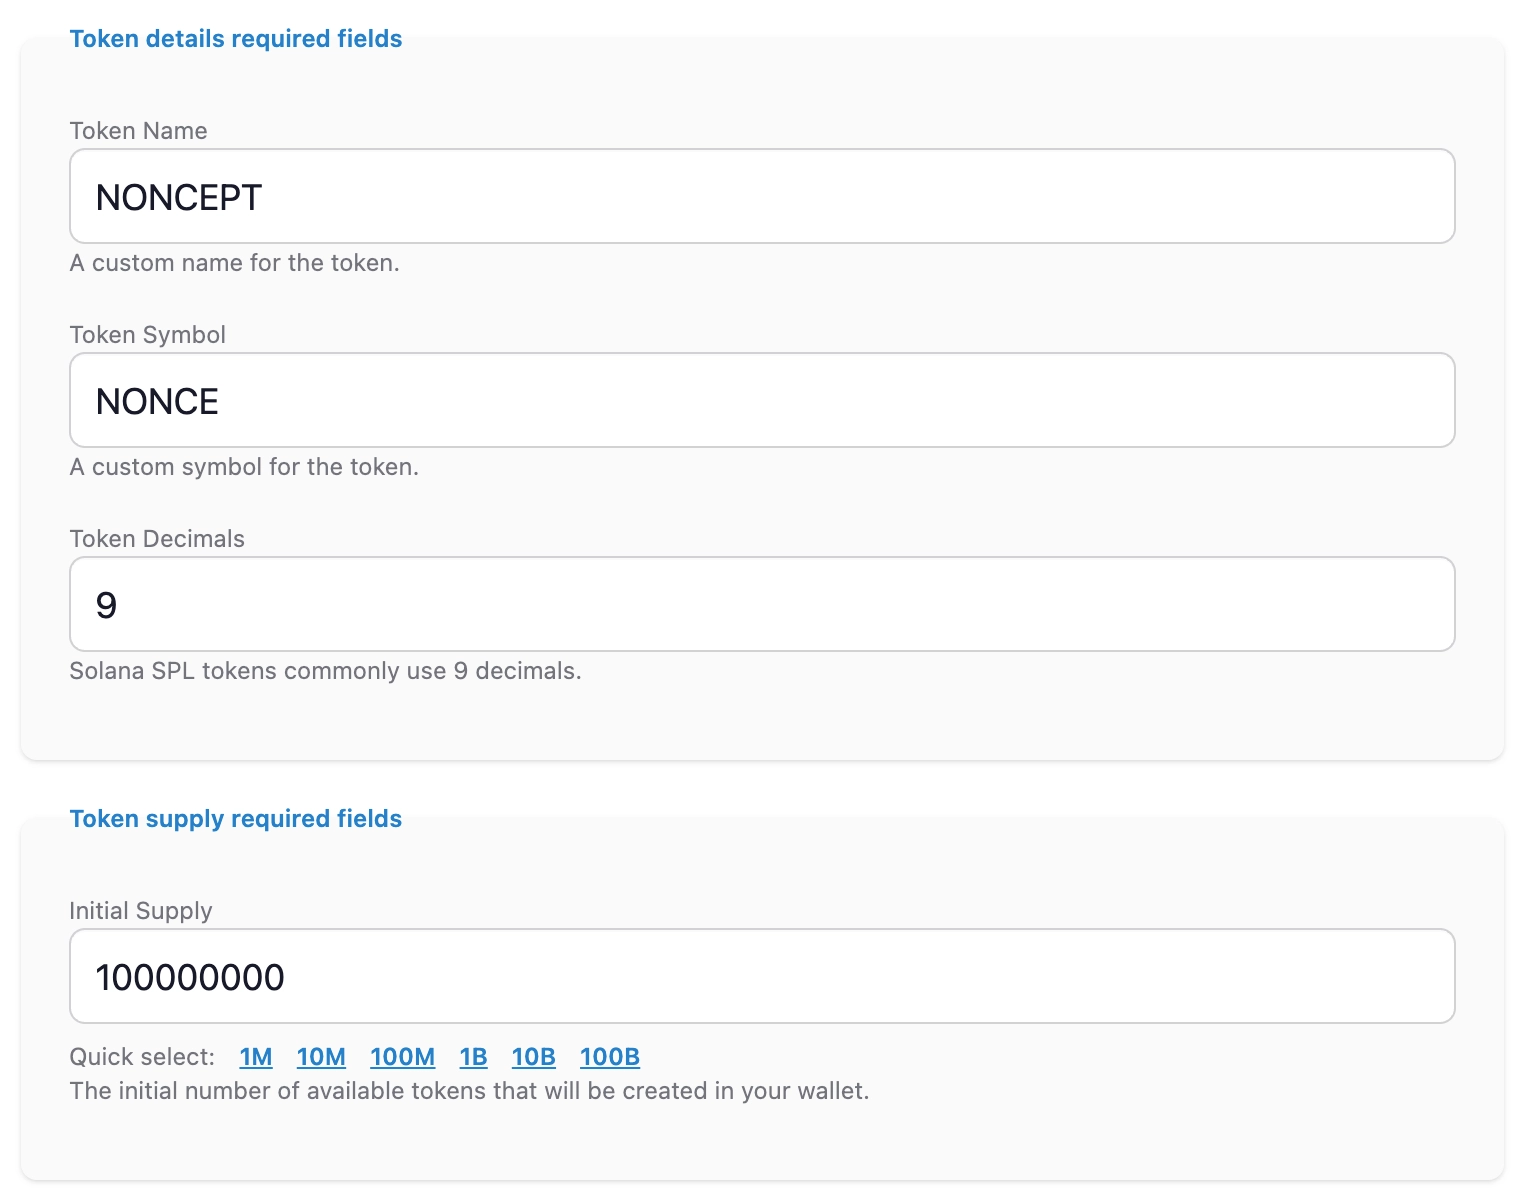
Enter the token name, symbol, decimals and initial supply. The connected wallet receives the complete initial supply.
Decimals define the smallest token unit and cannot be changed after the mint is created.
Review the initial supply carefully before continuing.
Step 4: Define Token Metadata
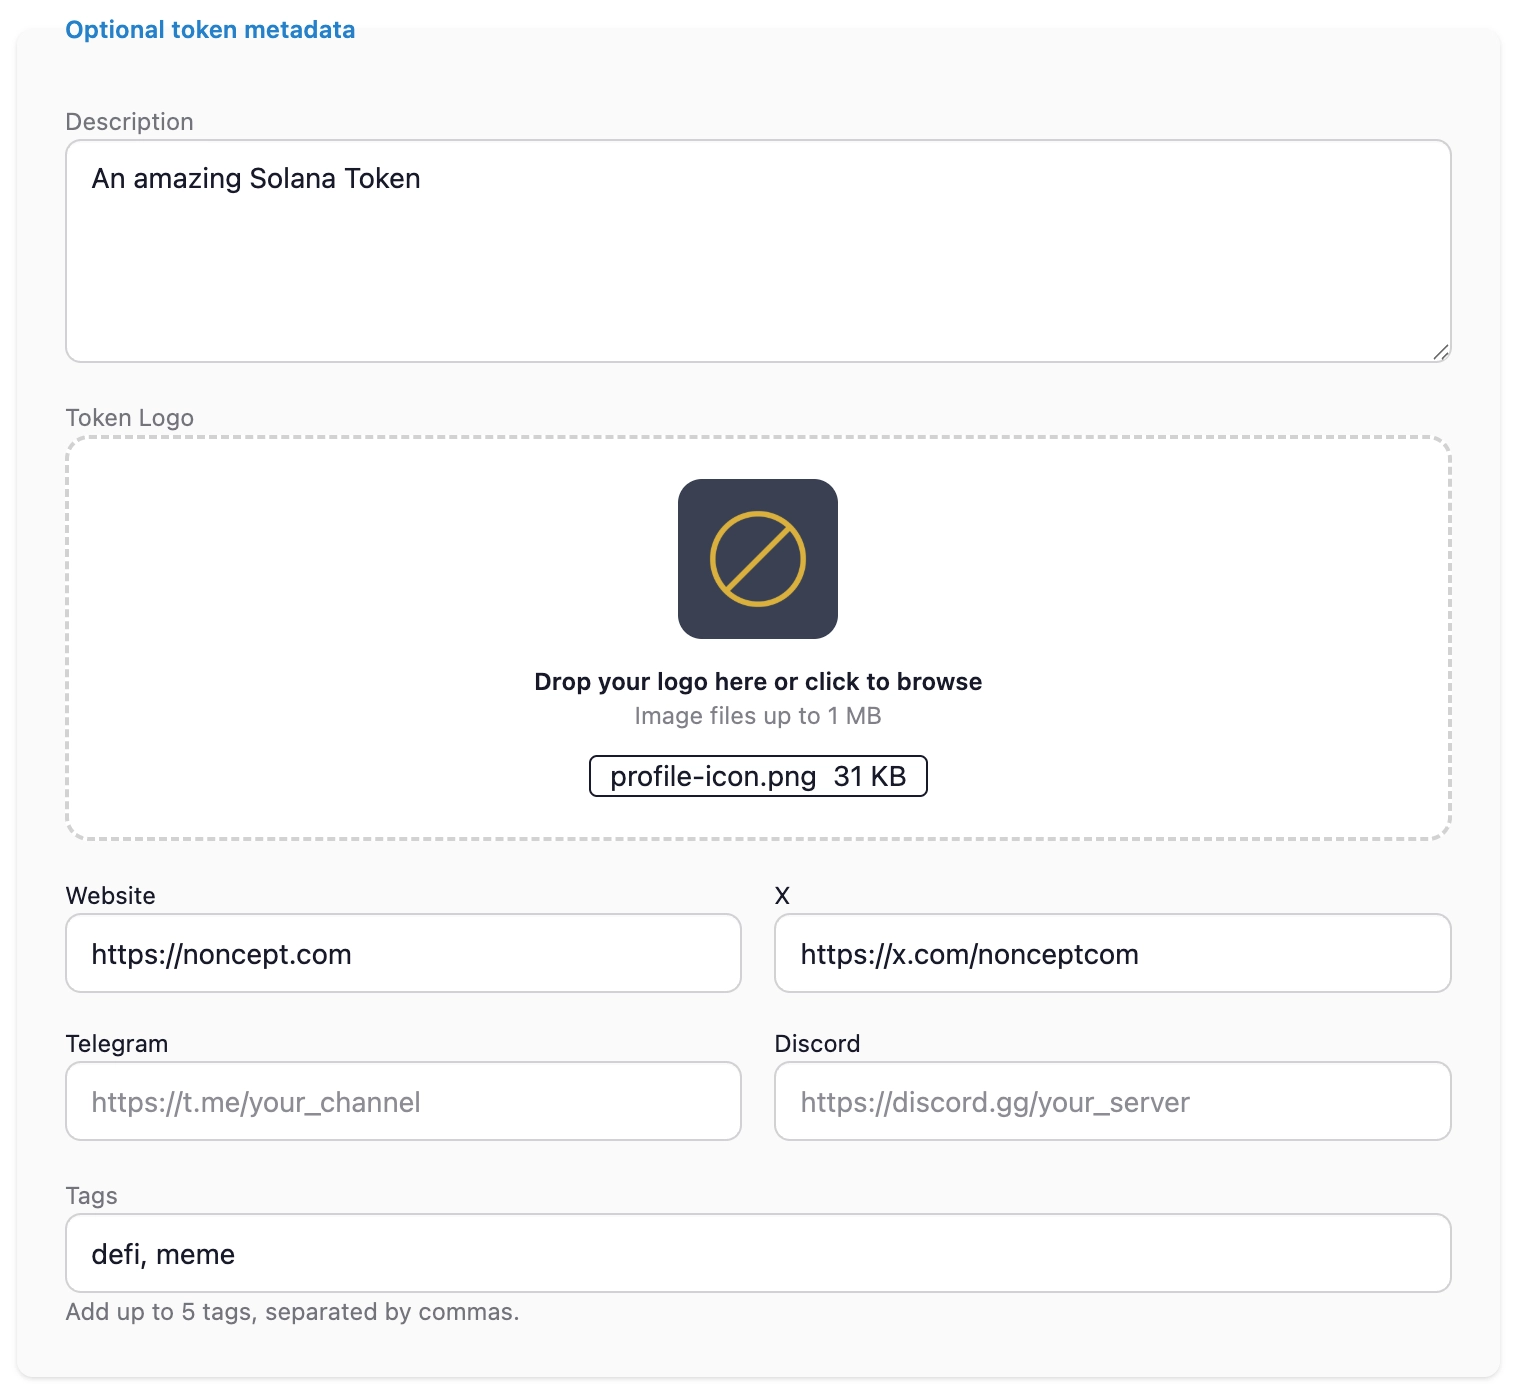
Add an optional logo, description, tags and project links for compatible wallets and explorers.
The optional image and metadata JSON are uploaded to IPFS immediately before deployment.
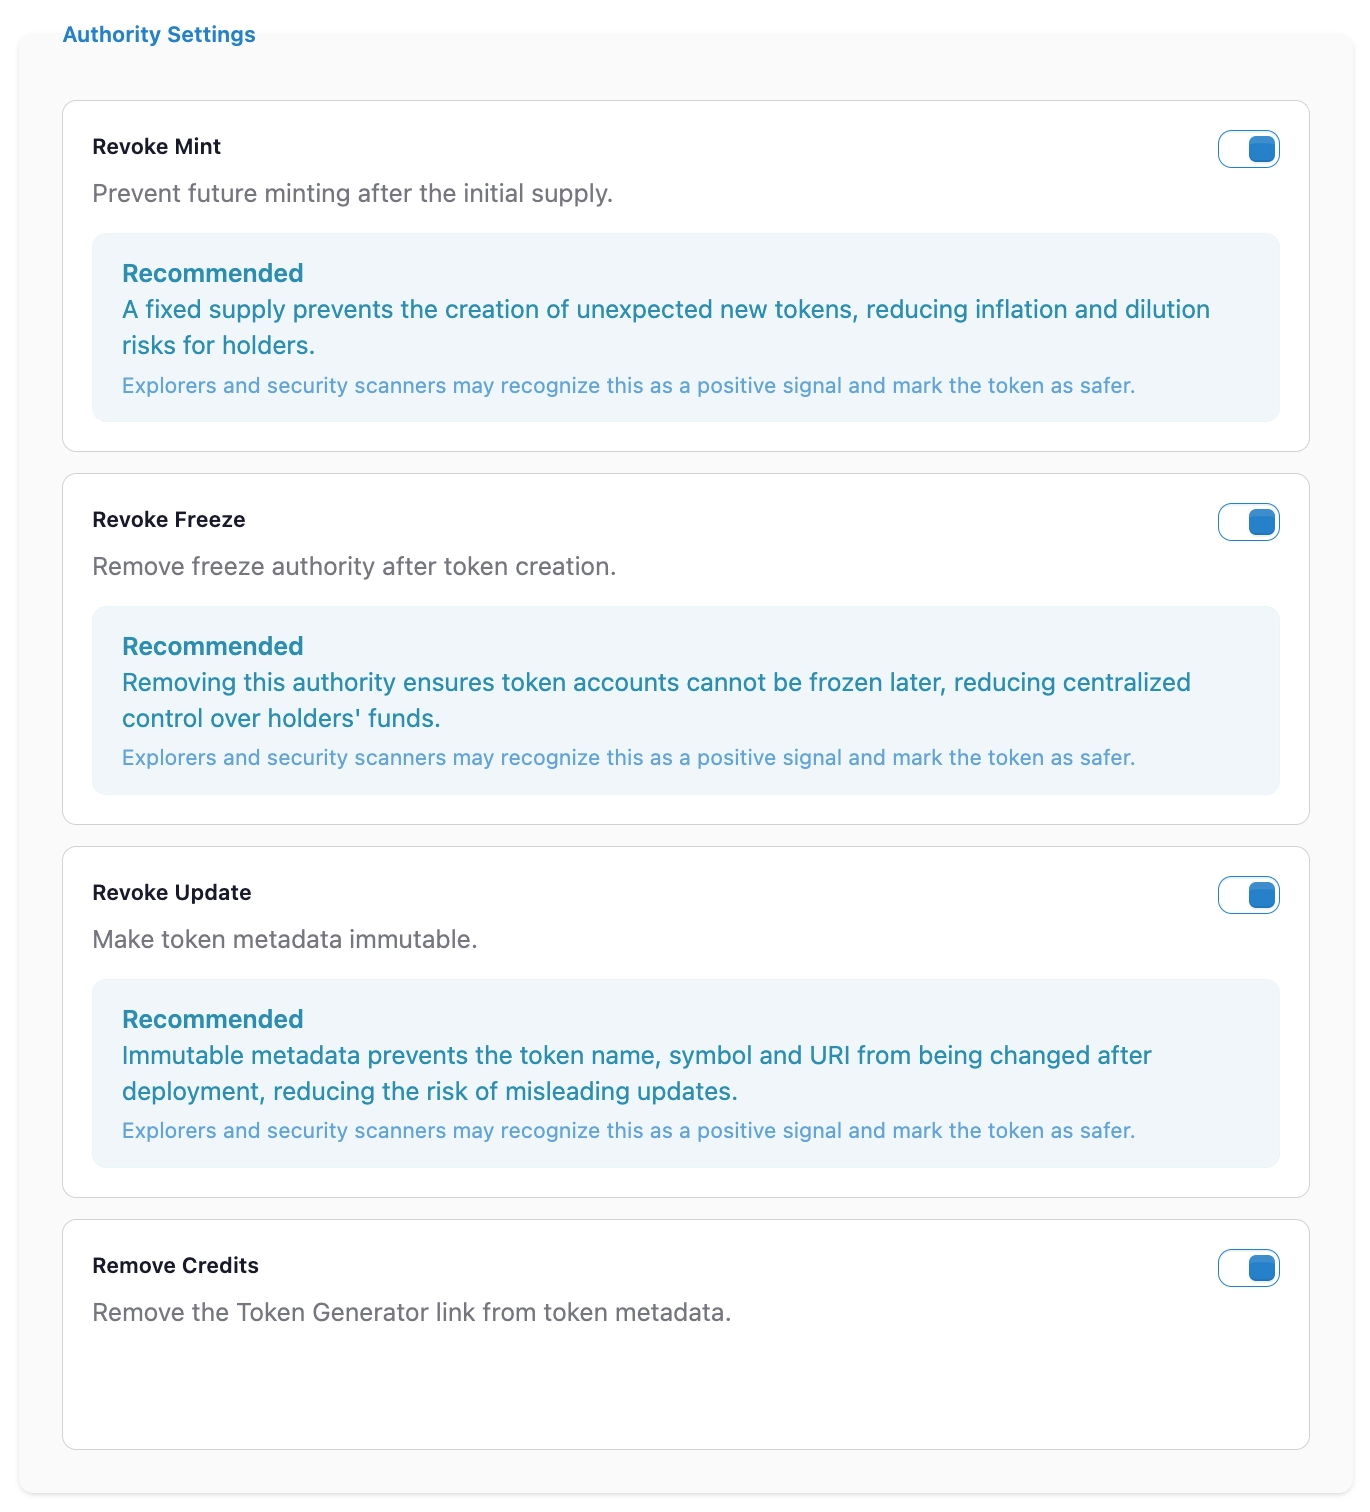
Step 5: Configure Authority Options
Choose whether to revoke mint, freeze or metadata update authority and whether to remove Token Generator credits.
Revoking mint authority permanently prevents future supply creation.
Revoking freeze authority prevents token accounts from being frozen later.
Revoking update authority makes the token metadata immutable.
Step 6: Generate and Review Your Token Features
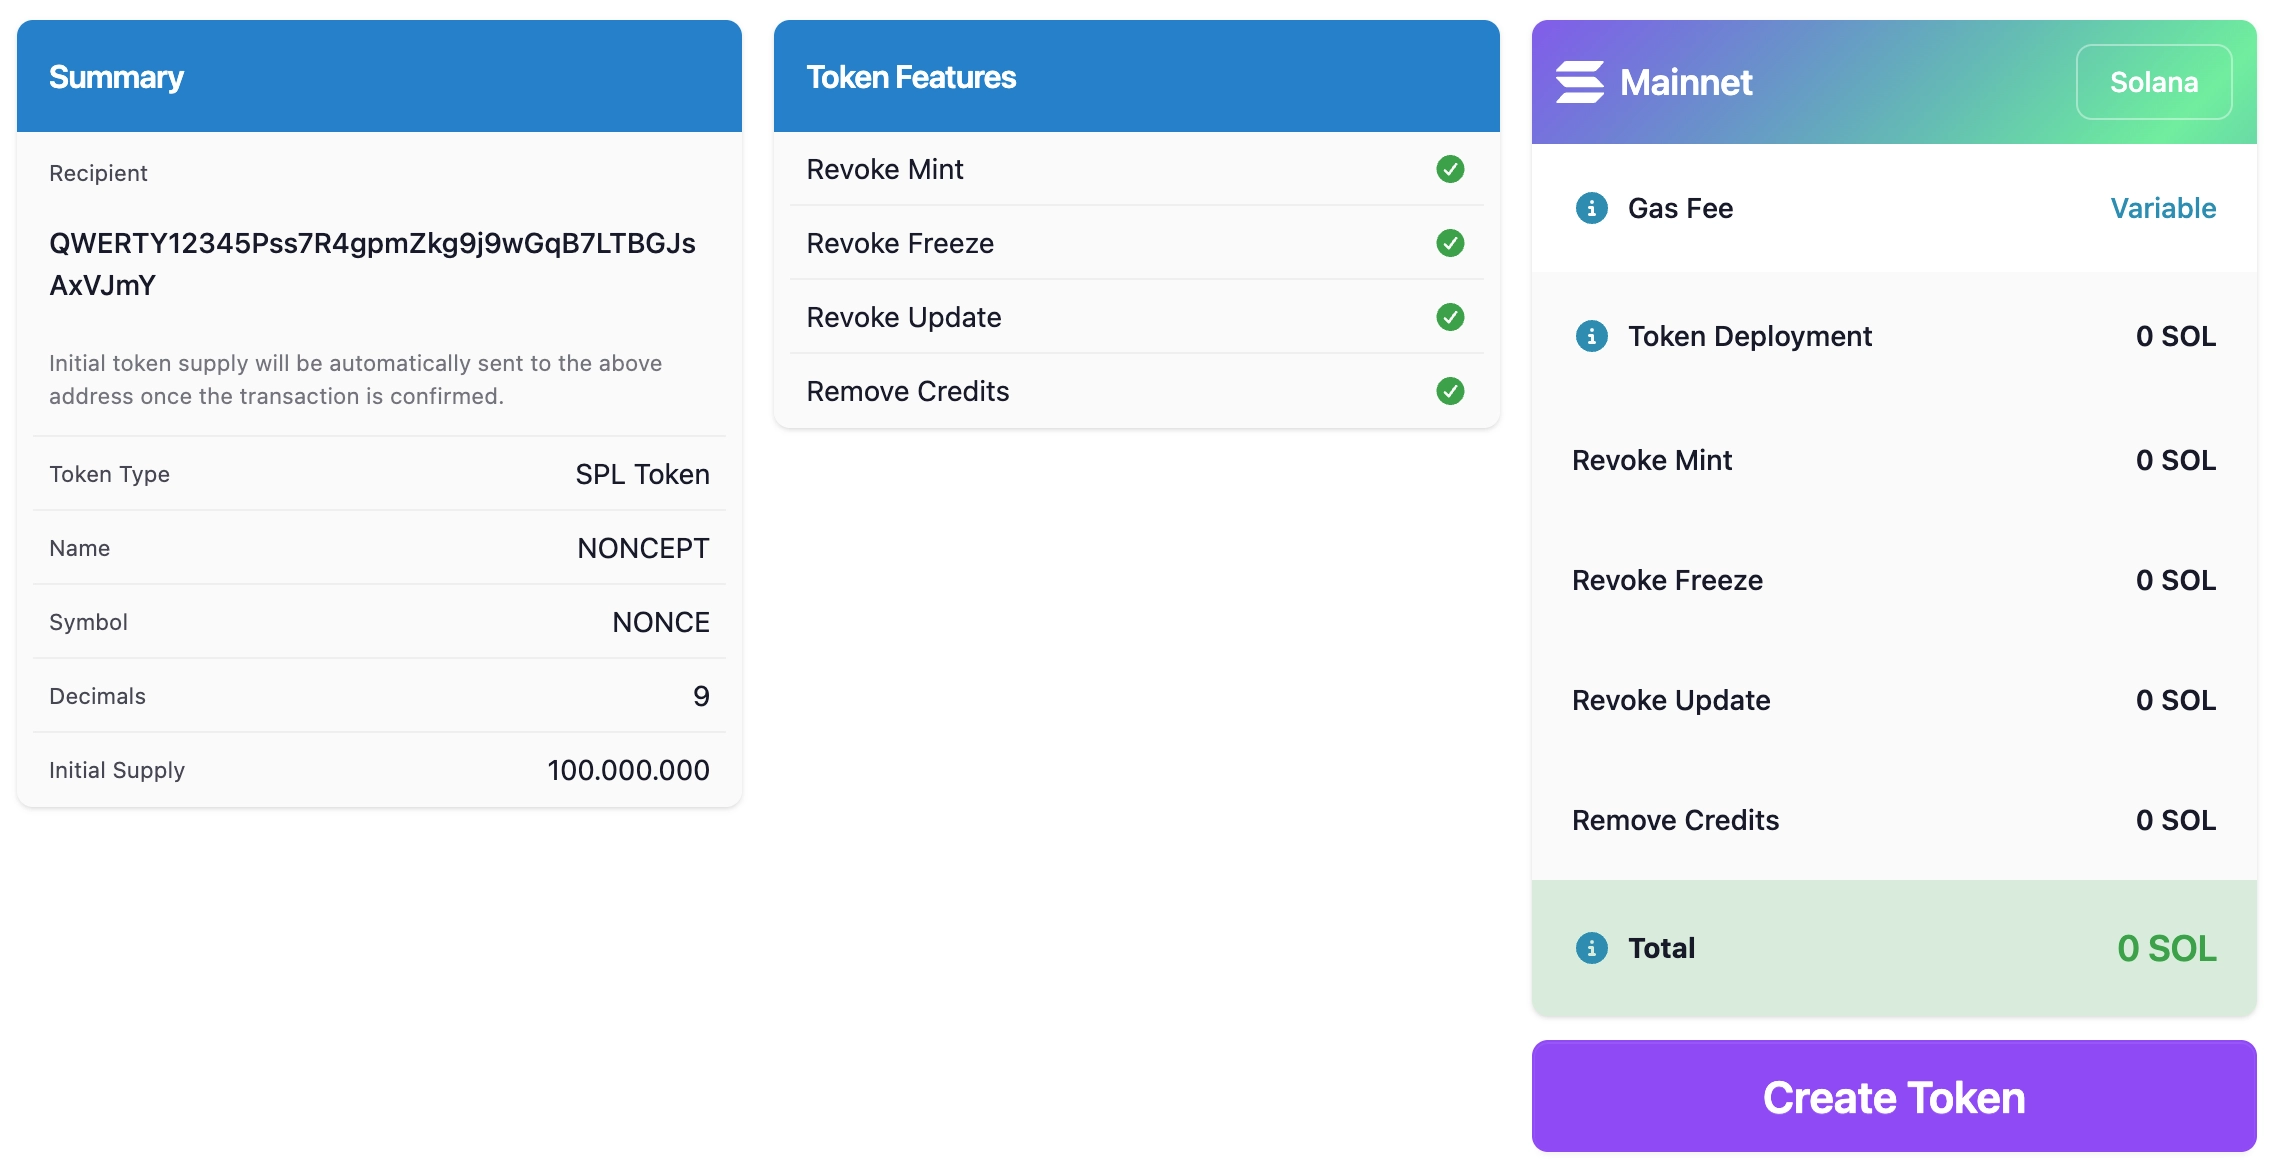
Generate the token configuration, then review the recipient, selected features, service price and estimated Solana network cost at checkout.
Return to the form if any token property, metadata field or authority option needs to be changed.
Step 7: Deploy Your Token to Solana
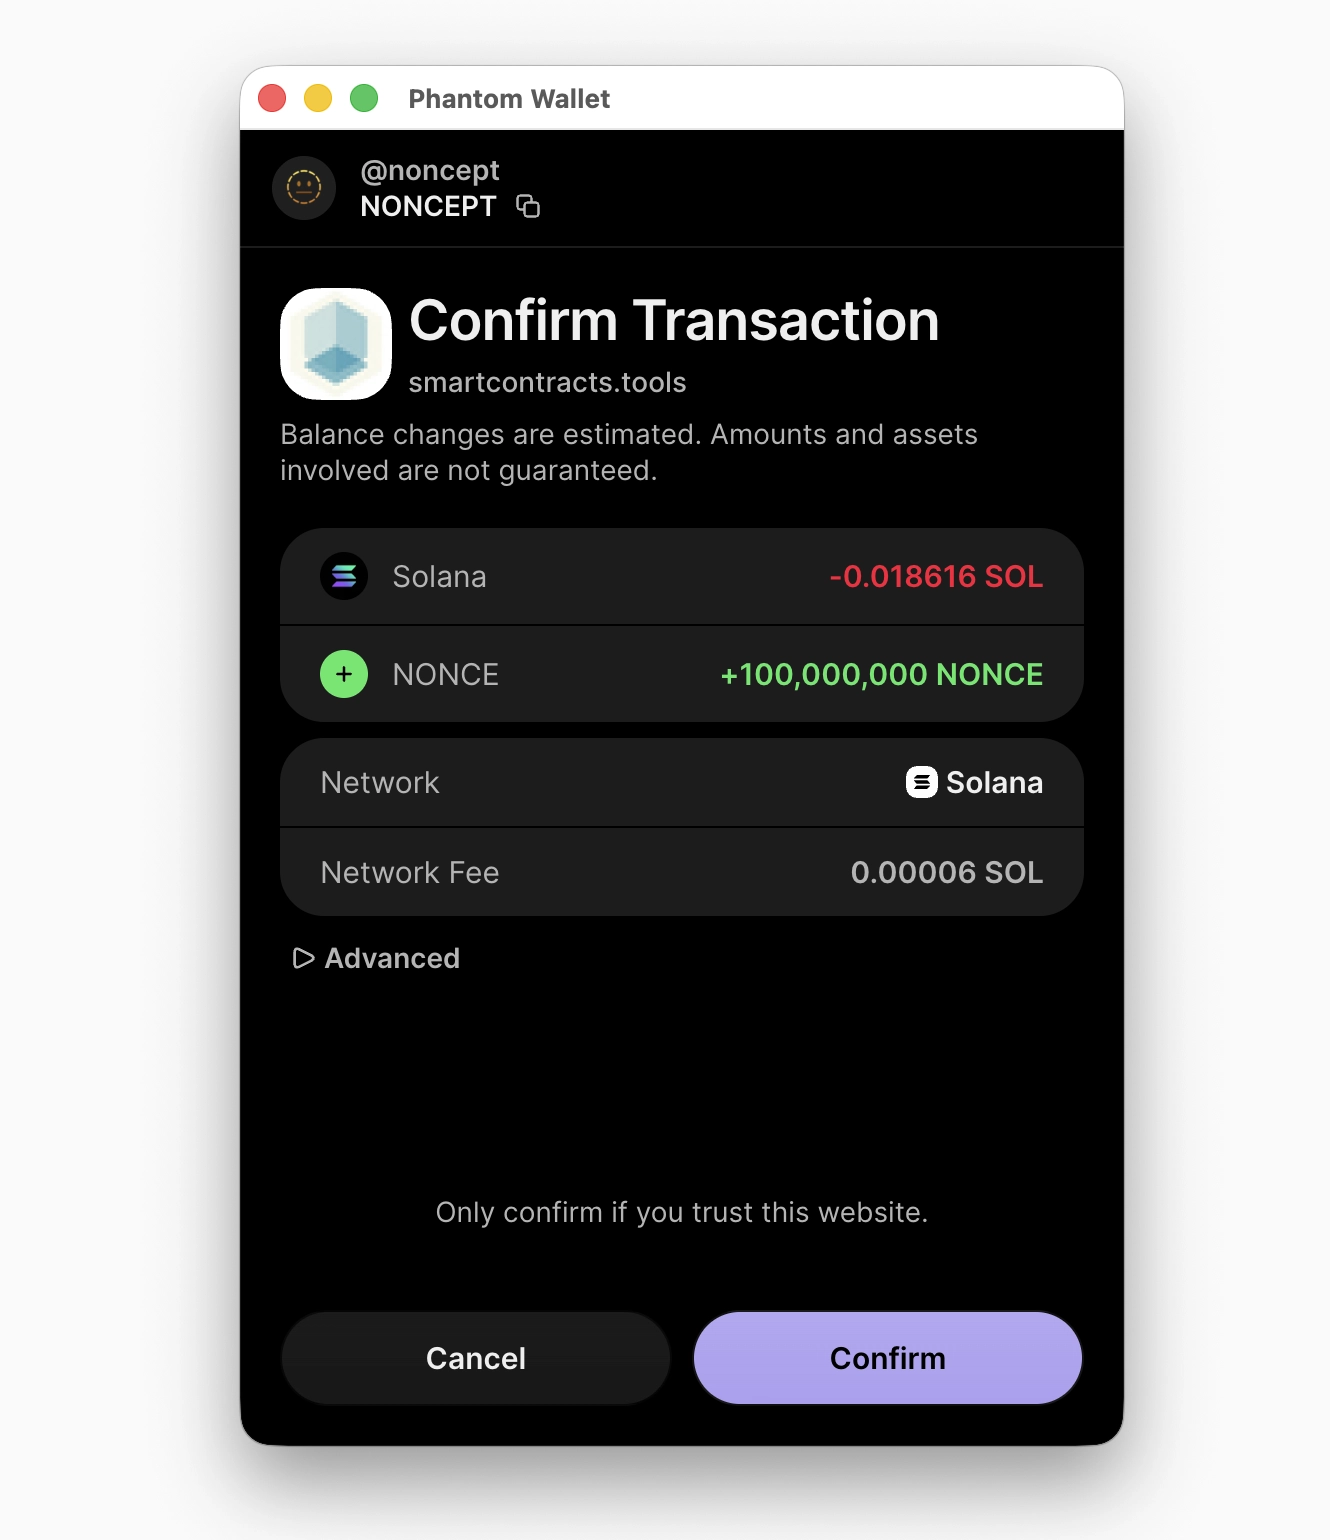
Continue from checkout and approve the generated deployment transaction in your connected wallet.
The generator prepares the mint, metadata, initial supply and selected authority instructions as one guided deployment.
Do not close or switch the connected wallet while the transaction is being prepared and confirmed.
Step 8: Verify the Solana Mint
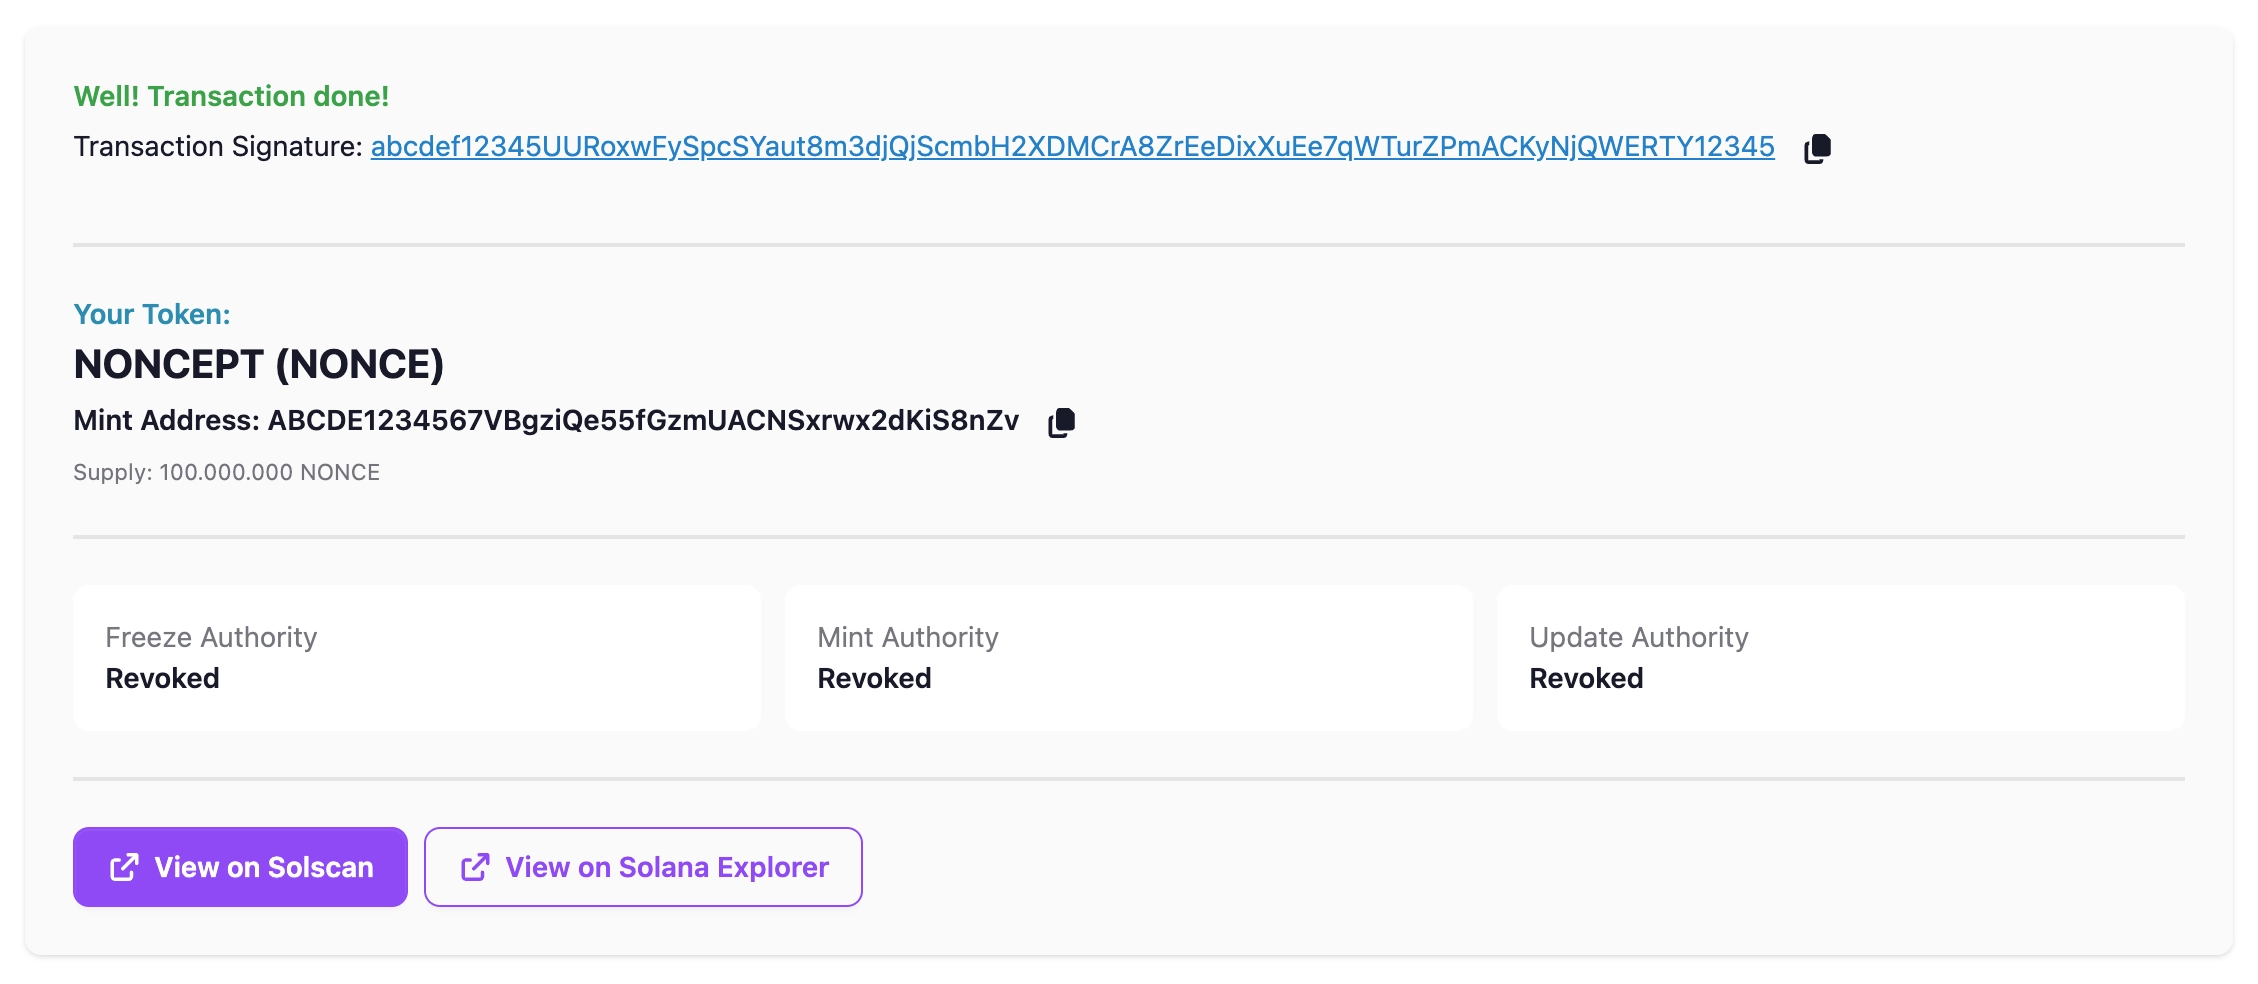
After confirmation, open the transaction and mint address in Solana Explorer and verify the supply, metadata and authority configuration.
Save the mint address: it is the permanent identifier applications use for your token.
Authority and Metadata Checklist
Revoke Mint
Prevent future minting after the initial supply.
Revoke Freeze
Remove freeze authority after token creation.
Revoke Update
Make token metadata immutable.
Remove Credits
Remove the Token Generator link from token metadata.
Next Steps for Your Solana Token
Save and share the mint address, confirm metadata visibility in compatible explorers and wallets, and document the final authority state for your community and integrations.